
Ruins of Dawn Progression Guide
From first random drops to forged endgame gear — affix priorities, crafting risk, and content unlock order.
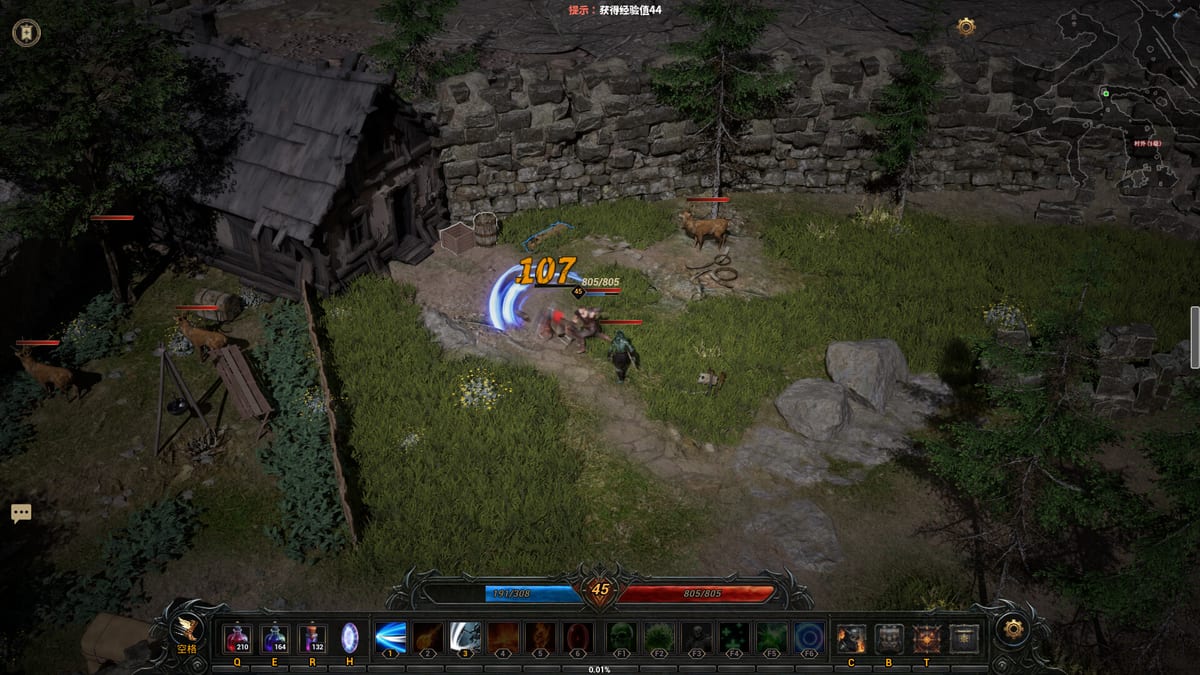
Progression in Ruins of Dawn is not a straight level bar — it is a stack of loot quality, forging decisions, and content tiers that unlock as your build can survive them. Whether you are grinding the RuinsofDawnDemo or planning for the August 14, 2026 Steam launch, the same principles apply: read affix fractions, protect five-affix bases, and invest crafting materials where they multiply future drops rather than chasing random legendaries.
This guide outlines a practical progression route for solo and co-op players, linking to Forging builds, gear items, and endgame systems like Rifts, Trials, Ruins, and Bounties.
Early Progression — First Hours and Class Choice
Your opening goal is stability, not perfection. Start with Getting Started and pick any of the three classes — Warrior, Mage, or Warlock — knowing you can switch anytime.
Community demo impressions often rank Mage for fast early clearing, Warlock for safer pet-led farming, and Warrior for scaling single-target damage later. Use the class tier list as a snapshot, not law — balance patches change priorities.
Early checklist:
- Learn Controls until dash, lock, and potions are reflexive.
- Replace gear whenever fractions improve, even if the item name looks boring.
- Sell or salvage only after checking for five-affix counts and key resistances.
Reading Affix Fractions and Item Power
Random affix gear displays potencies as fractions, commonly shown like /5. Higher fractions mean the roll sits closer to the maximum for that affix on the item. Two pieces with the same affix name can perform wildly differently if one reads 3/5 and another 5/5.
Use the affix glossary to translate names into build goals. Until forging kicks in, fraction literacy is your power curve.
Stash priorities during early mapping:
- Keep five-affix items in slots you plan to craft on — they are long-term chassis.
- Keep high-fraction duplicates of stats you will inject later.
- Keep resist pieces that fix gaps exposed by elites or Rift invasions.
- Vendor low-fraction junk unless you need emergency gold for potions.
Legendaries can spike power early, but many experienced players report that self-forged gear outscales random legendaries late once inject and reforge loops mature. Do not gut your rare bases for a flashy orange drop with weak fractions.
Mid Progression — Forging Unlocks
Forging is the hinge of Ruins of Dawn progression. Public materials describe four interacting actions:
- Extract — pull a single affix off an item.
- Inject — apply a stored affix onto a compatible piece.
- Reforge — reroll affix outcomes within rulesets tied to the item.
- Upgrade quality — raise an item’s overall tier or potential.
Critical rule: extracting one affix destroys the donor item. Treat extraction like disenchanting with no undo. Practice on duplicates you would otherwise sell, documented in Demo Guide session plans.
Mid-game workflow:
- Identify a five-affix base in a core slot (weapon, chest, or class-defining piece).
- Extract a high-fraction affix from a duplicate donor you are willing to lose.
- Inject into the base if compatibility and costs align.
- Reforge weak slots only after securing two strong anchors — reforging everything at once drains materials.
- Upgrade quality when the piece is worth keeping for launch-tier content.
Detailed examples live on Forging builds. Pair them with beginner builds so you inject stats that match your current class, or neutral stats if you swap classes often.
Midgame — Bear Valley and T3 Gear Goals
Once forging basics click, progression pivots from starter zones toward Bear Valley — the midgame map added in recent demo and playtest updates. Bear Valley packs tighter elite density, higher item tiers, and bosses that punish under-geared clears. Treat it as the bridge between tutorial mapping and hard-mode pushes, not a zone you rush on day one.
Your practical gear target entering Bear Valley is T3 equipment across core slots. Read gear tiers for how tier numbers interact with affix ceilings, drop tables, and quality upgrades. T3 does not mean perfect /5 fractions yet — it means your weapon, chest, and resist pieces meet the defensive floor Bear Valley elites expect before you burn potions every pack.
Bear Valley also surfaces guarded chests and route-specific farming loops that feed inject materials faster than shallow mapping. When progress stalls, switch to deliberate farming routes instead of forcing deeper bosses with T2 leftovers. Community notes flag Bear Valley as the first place hard-mode walls appear — sudden damage spikes that look like bad play but often trace to tier gaps.
If Bear Valley feels impossible despite solid fractions, read hard mode before abandoning the zone. Normal and hard difficulties use different enemy scaling; jumping to hard early is a common midgame trap. Farm T3 bases on normal, forge one slot at a time, then re-test hard when your resist profile matches the gear tiers checklist.
Content Tier Progression — What to Push When
Gear and forging should unlock content tiers in roughly this order for demo and launch planning:
Elites and Bosses
Elites teach affix combinations on monsters themselves — mirror that complexity on your gear. Bosses reward mechanical patience; Warrior players often shine here once single-target forging completes.
Rift Invasions
Rift invasions stress wave control and defensive layers. Push rifts when potion binds (Controls) feel automatic and you have at least one five-affix defensive piece.
Rift Key Trials
Trials gate higher rewards behind key consumption. Enter trials when you can afford key loss — emotionally and materially — without stalling your forging budget.
Ruin Gem Ruins
Ruin Gem ruins add route-specific rewards that feed gem sockets or long-term modifiers depending on build. Run ruins when your map clear speed supports repeat farming.
Bounties
Bounties convert targeted kills into currency and materials. Pick bounties that reinforce weak resistances or supply crafting reagents you need for inject/reforge cycles.
Track which tiers you have cleared using the demo tracker during preview play.
Class Swaps and Progression Resets
Because classes swap freely, progression is partly account-wide and partly role-specific:
- Invest in neutral affixes first if you hop between Mage and Warlock frequently.
- Class-specific injects belong on secondary slots until you commit to a main for co-op or solo push.
- Revisit Classes when a swap changes skill bars — F-key utilities move with you even if gear stats do not.
Co-op groups should align progression gates — see Co-op before forcing trials when one player lacks resistances.
Late Progression Mindset — Forged Over Found
Late progression is defined by crafted stability:
- Full five-affix cores with high fractions on priority stats.
- Extract/inject plans for missing affixes instead of gambling drops.
- Reforge budgets reserved for one slot at a time to avoid gear downtime.
- Legendaries evaluated skeptically — keep only if fractions beat your forged piece.
This mindset keeps you ready for launch additions without relearning fundamentals each patch.
When to Slow Down and Farm
Slow progression deliberately when:
- Deaths come from resist gaps, not player error — fix via targeted bounties.
- Materials for inject or quality upgrade are within one focused session — binge farm instead of pushing keys.
- Co-op partners need catch-up — share route knowledge from Demo Guide rather than out-leveling them silently.
Pre-Launch Progression Checklist
Before Ruins of Dawn’s planned Aug 2026 release, demo players should comfortably:
- Read
/5fractions at a glance. - Execute one extract and one inject without destroying the wrong item.
- Finish a rift or trial tier appropriate to preview caps.
- Maintain a five-affix base in at least two core slots.
- Reach T3 gear on core slots and clear Bear Valley on normal before hard-mode pushes.
- Switch classes once without stash chaos.
After launch, re-read Getting Started for economy changes, then return here to remap tier pushes against live drop rates, Updates, and release date notes.
Frequently Asked Questions
Quick answers to the most common questions.
What is the most important early progression skill?
Reading affix fractions like `/5` and keeping five-affix bases. Use the [affix glossary](/tools/affix-glossary/) and [gear items](/gear/items/) pages while looting.
When should I extract an affix?
When you have a duplicate donor you are willing to lose — extraction saves one affix but **destroys the item**. Plan inject targets via [Forging builds](/builds/forging/).
Are legendaries best-in-slot?
Not always. Many players find forged five-affix gear beats weak legendaries late. Compare fractions before replacing crafted cores.
What content should I push after the demo tutorial?
Move from elites to [Rift invasions](/systems/rifts/), then [Bear Valley](/systems/bear-valley/) with T3 goals from [gear tiers](/gear/gear-tiers/), then [Trials](/systems/trials/), [Ruins](/systems/ruins/), and [Bounties](/systems/bounties/) as gear allows.
When should I farm Bear Valley vs push hard mode?
Farm [Bear Valley](/systems/bear-valley/) on normal until T3 core slots land, then read [hard mode](/guides/hard-mode/) and use [farming routes](/guides/farming/) when walls persist.
How does class switching affect progression?
You can swap [Warrior](/classes/warrior/), [Mage](/classes/mage/), or [Warlock](/classes/warlock/) anytime. Craft neutral affixes first if you rotate roles often.