
Ruins of Dawn Hard Mode Guide
Normal vs hard difficulty spikes — community-reported XP risk, resist gear checks, and Bear Valley prep.
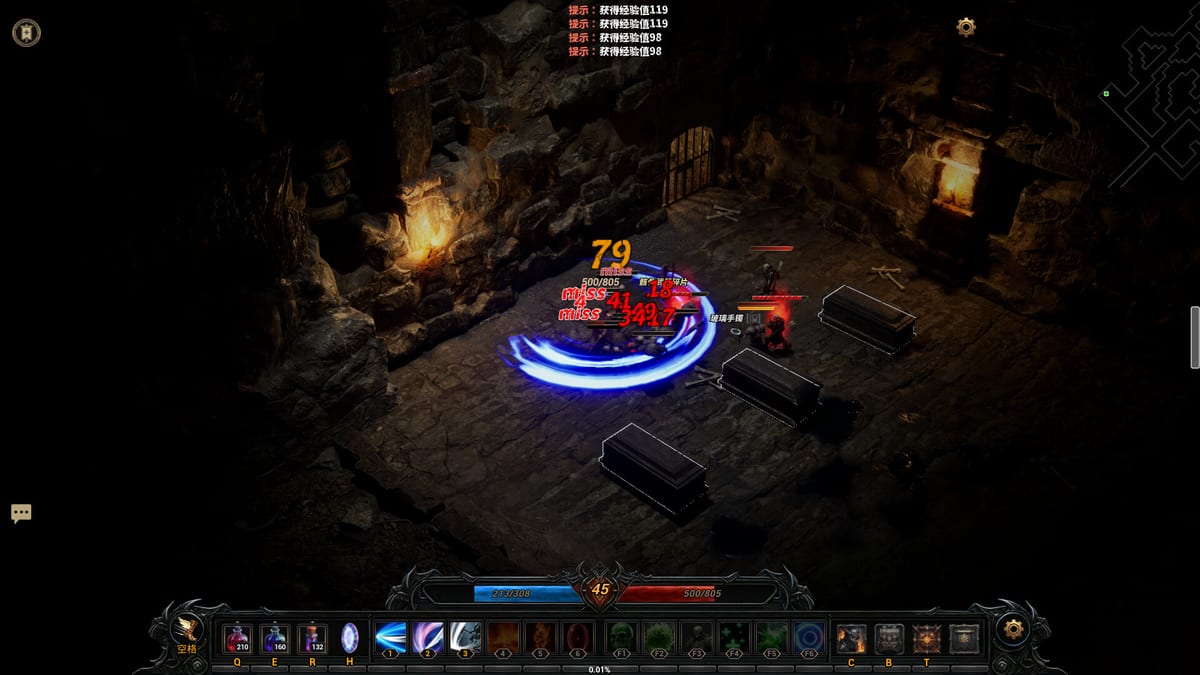
Ruins of Dawn preview players frequently describe a sharp split between normal and hard difficulty — not a gentle slope, but sudden spikes where under-geared builds collapse and deaths may carry XP loss according to community reports. This hard mode guide explains when to push harder modifiers, how gear tiers and forging interact with those walls, and why the Bear King in Bear Valley became a reference checkpoint in demo discussion after the August 14, 2026 Steam launch.
Treat XP penalties and exact toggles as demo-reported until official patch notes confirm. Mechanics advice here stays useful even if numbers shift.
Normal vs Hard — What Players Report
Community threads summarize the difference roughly as:
| Aspect | Normal (reported) | Hard (reported) |
|---|---|---|
| Elite damage | Forgiving with T2 forged gear | Spikes potion usage |
| Affix pressure | Learn telegraphs | Less time to recover |
| Death penalty | Lower stakes | Possible XP loss |
| Loot bias | Standard tier tables | Higher risk/reward (varies by build) |
Normal is the teaching mode — learn Bear Valley layouts, Guarded chest pulls, and Bear King phases without jeopardizing progression. Hard is opt-in stress testing once resist profiles and Loadouts are ready.
XP Loss on Death — Risk Assessment
Multiple demo players report losing XP on death under hard settings or hard-zone equivalents. If true in your build:
- Hard farming becomes negative expected value when death rate exceeds loot gain.
- Boss attempts like Bear King need phase competency before toggling hard.
- Co-op deaths may still penalize individual players — confirm in party before hard pulls.
Mitigation habits:
- Farm normal until potion usage stays below one emergency heal per elite pack.
- Close resist gaps via Bounties instead of hoping random drops fix holes.
- Use town portal binds from Controls early when hard packs spiral.
Log death frequency per zone in the demo tracker to decide if hard is worth your time.
Gear Checks Before Hard Mode
Hard content is primarily a gear check layered on mechanical skill. Minimum community-suggested thresholds before hard Bear Valley or equivalent:
Tier and Fraction Requirements
- T2 forged five-affix core in chest or weapon with two priority stats at acceptable
/5— see Items. - At least one T3 piece in a major slot if pushing post-Bear King hard farms — Gear tiers.
- No slot below emergency resist minimums flagged by Orc woodland elites on normal.
Forging Readiness
- One completed inject or reforge cycle so you understand material costs — Forging builds.
- Duplicate donors banked — hard deaths should not destroy your only extract source.
- Quality upgrade on long-term base before gambling hard boss repeats.
Skill and Bar Readiness
- Skill books aligned with your main class from Skills — gear without bar synergy still fails.
- Potions on Q/E/R tested under pressure — not rebound mid-fight first time.
Use the build checklist before flipping to hard.
Bear King — The Community Gear Wall
The Bear King boss in Bear Valley symbolizes hard-mode walls in preview talk:
- Normal Bear King — learnable with T2 forged gear and phase discipline.
- Hard Bear King — community reports sharp damage spikes requiring T3 resist layers and optimized Loadouts.
Approach hard Bear King only after:
- Three clean normal kills with potions to spare.
- Guide button drop review so repeat kills target missing affixes.
- Hard preset equipped with extra resist rings or amulet swaps.
- Co-op roles assigned if grouping — Co-op callouts for charge attacks.
Failure here is feedback to farm Farming routes, not proof the boss is “unfair” — resist math beats raw attempts.
Class Considerations on Hard
All classes can hard-clear with investment:
- Warlock — safest learning class on hard thanks to pets absorbing mistakes; slower kill speed.
- Mage — high skill ceiling; area clear helps adds but boss burst windows demand positioning.
- Warrior — strong when T3 weapon fractions land; weak if under-geared because melee range increases hit taken.
Free class switching lets you practice hard mechanics on Warlock then swap Warrior for kill-speed once gear catches up — consult Class tier list for snapshot opinions.
Hard Mode vs Ticketed Endgame
Hard overworld and ticketed instances solve different problems:
- Hard maps — test resist profiles and XP-risk efficiency on familiar routes.
- Trials — spend Rift Keys for gated trap and gatekeeper loot.
- Ruins — spend Ruin Gems on boss-packed routes.
Do not burn keys on trials while still failing hard elites — fix gear via normal Farming first. Hard mode proves readiness; tickets convert readiness into spike loot.
Loadout Presets for Hard Swaps
Community reports describe three equipment loadout sets on the character screen. Hard mode uses them heavily:
- Preset 1 — normal farm kit (damage biased).
- Preset 2 — hard kit (resist biased, extra life).
- Preset 3 — boss kit (single-target, defensive cooldowns).
Swap presets at zone boundaries instead of inventory micromanagement mid-fight. Details on Loadouts.
Co-op Hard Mode Etiquette
Hard co-op fails from coordination gaps:
- Announce hard toggles before entering zone — surprise XP-loss risks anger parties.
- Assign peel for squishy Mage players during bear swarms.
- Retreat together when potion thresholds hit — partial wipes cost more on hard.
- Share resist gaps — one player lacking fire resist should not pull hard fire elites for the group.
LAN and online sessions follow the same rules per Steam co-op messaging.
When Normal Is Enough
Hard mode is optional for much of preview progression:
- Learning forging and affix fractions on normal Orc woodland routes.
- First Rift invasion clears without XP anxiety.
- Co-op teaching sessions with new players.
- Material farming where kill speed beats loot table bonuses.
Push hard when normal drops stop advancing your build and resist checks pass — not because streamers toggle hard on day one.
Patch and Launch Outlook
Difficulty tuning, XP loss rules, and hard loot tables may change before August 14, 2026. After major patches:
- Re-test one hard elite before committing XP-risk sessions.
- Re-read Updates for Bear Valley or Bear King notes.
- Reset personal hard milestones in demo tracker.
Hard mode literacy — resist stacking, preset swapping, risk budgeting — transfers to launch even if XP rules soften or tighten.
Frequently Asked Questions
Quick answers to the most common questions.
What is the difference between normal and hard?
Community reports: normal teaches routes with forgiving damage; hard spikes elite lethality and may apply **XP loss on death**. See gear checks above.
Do you lose XP on death in hard mode?
Players report **XP loss** under harder settings — community-reported, not confirmed for launch. Test cautiously and track in [demo tracker](/tools/demo-tracker/).
When should I try hard Bear King?
After three clean normal kills, T2/T3 forged gear, and a hard [Loadout](/builds/loadouts/) preset. Details on [Bear Valley](/systems/bear-valley/).
What gear do I need for hard mode?
T2 five-affix forged core minimum, T3 for valley hard farms, resist fixes from [Bounties](/systems/bounties/). Read [Gear tiers](/gear/gear-tiers/).
Is hard mode required for progression?
No — normal [Farming](/guides/farming/) and ticketed [Trials](/systems/trials/) advance most preview builds. Hard is optional risk/reward.