
Ruins of Dawn Equipment Loadouts
Three gear preset sets on the character screen — swap kits for farming, hard mode, and bosses without stash clutter.
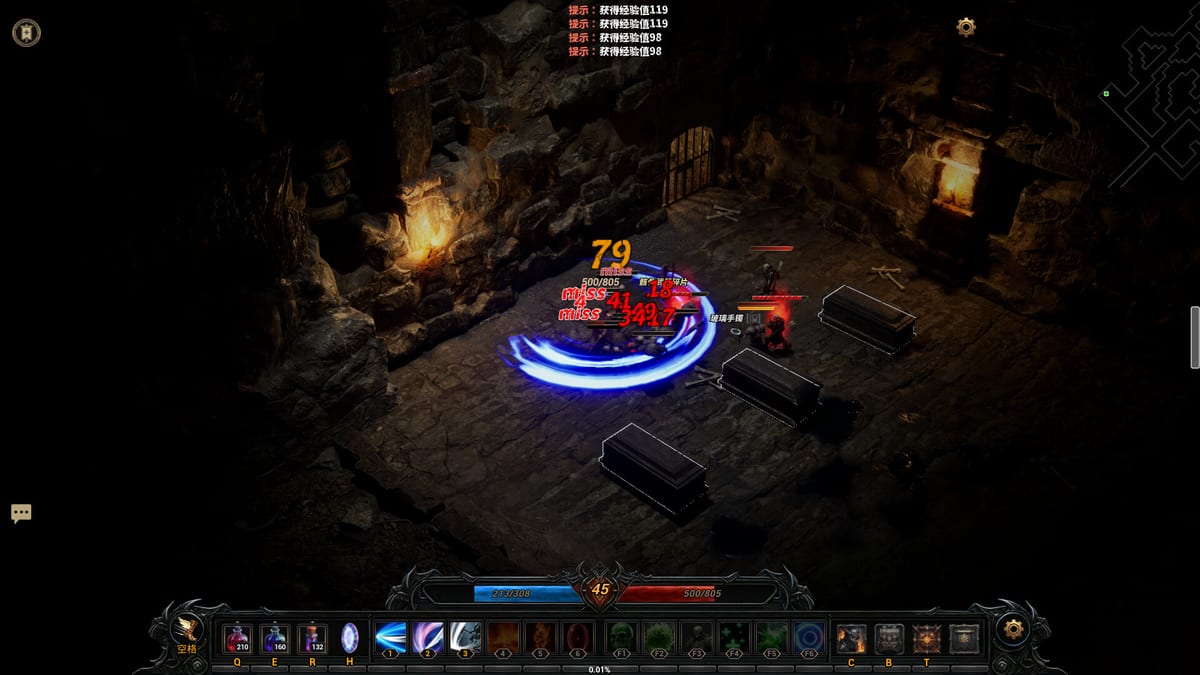
Ruins of Dawn supports flexible combat builds through random affix gear, Forging builds, and anytime class switching among Warrior, Mage, and Warlock. Preview players also report a character screen feature with three equipment loadout sets — full gear presets you swap in seconds instead of dragging items from stash before every zone change.
This loadouts guide explains how to structure those three sets, how they synergize with class swaps, and how forging investments stay portable across presets after the August 14, 2026 Steam launch.
Three Loadout Sets — Community-Reported Feature
Community demo reports describe three distinct equipment loadout slots accessible from the character UI. While exact menu labels may differ by language patch, the functional goal is consistent:
- Save complete gear configurations including weapons, armor, accessories.
- Swap presets when transitioning between content types — farm, hard, boss.
- Reduce inventory friction during Farming circuits and Bear Valley pushes.
Treat slot count as preview-era — launch could add more sets or rename the UI. The workflow of role-specific kits remains valuable regardless.
Recommended Three-Preset Template
A practical default for RuinsofDawnDemo and launch planning:
Loadout 1 — Farm / Mapping Kit
Optimized for elite circuits and trash throughput on normal difficulty:
- Damage-biased weapon with acceptable
/5fractions. - Movement or cast speed where available.
- Moderate resist — enough for Orc woodland, not maximum mitigation.
- Skill bar focused on area clear (Mage) or pet uptime (Warlock).
Pair with Maps routes and Guarded chests pulls.
Loadout 2 — Hard / Survival Kit
Built for normal vs hard spikes documented on Hard mode:
- Extra resist rings, amulet, or chest swaps.
- Higher life pools and defensive affixes from Bounties.
- Potions tested under pressure — see Controls.
- Conservative skill picks with defensive cooldowns.
Swap to this preset before hard Bear Valley elites or XP-risk zones community reports describe.
Loadout 3 — Boss / Single-Target Kit
Focused on Bear King and deep map bosses:
- Single-target weapon with peak
/5damage fractions. - Reduced trash clear stats acceptable — boss rooms matter more.
- Warrior burst setups shine here when forged.
- Optional co-op utility skills if party relies on your role.
Cross-check skill books on Skills before boss nights.
Log which preset cleared which milestone in the demo tracker.
Class Switching Synergy With Loadouts
Classes switch anytime — loadouts should respect that freedom:
| Strategy | Loadout approach | Best for |
|---|---|---|
| One-trick class | Three presets for same class, different content | Main-only players |
| Role rotator | Neutral defense on shared slots, class weapons per preset | Co-op flex |
| Learner | Duplicate farm preset across classes to compare feel | Demo exploration |
Neutral affixes — life, generic resist, damage reduction — belong on pieces every class uses so swapping Classes does not empty your hard kit. Class-specific injects target weapons and off-hands documented on Class switching.
When you swap class, skill bars update but gear presets remain — verify F-key utilities still match each loadout’s role.
Forging Across Loadouts
Forging investments should span presets without duplication waste:
- Quality upgrade five-affix chest and rings first — every preset wears them.
- Extract/inject neutral stats onto shared slots — Affix crafting.
- Class-specific injects on weapon preset variants — duplicate weapons only if you main multiple classes seriously.
- Reforge weak lines on shared pieces before crafting third duplicate sets.
Example: one T3 five-affix chest with life and resist injects serves farm, hard, and boss presets — only weapons swap between loadouts.
Never extract from your only copy of a shared piece — extraction destroys donors per Forging.
Loadouts and Gear Tiers
T1, T2, and T3 tiers interact with presets:
- Farm preset may mix T2 and T3 while upgrading.
- Hard preset should never equip lowest-tier resist placeholders.
- Boss preset prioritizes T3 weapon fractions even if other slots lag.
When T3 drops arrive from Bear Valley, update boss preset first, then hard preset, then farm — damage without survival fails hard mode.
Co-op Loadout Coordination
Online and LAN co-op per Steam messaging benefits from preset callouts:
- Party tank runs hard preset while others stay farm-biased for add clear.
- Share resist coverage — your hard kit compensates for teammate gaps.
- Align Co-op retreat timing with preset swap plans at zone gates.
Discuss loadouts in voice before Trials or Ruins — ticket loss hurts more than wrong farm gear.
Loadouts vs Beginner Builds
Beginner builds teach stat priorities; loadouts operationalize them:
- Translate beginner stat lists into three concrete gear snapshots.
- Upgrade presets incrementally as Progression milestones hit.
- Graduate to build checklist verification before hard preset toggles.
New players should still read Getting Started before optimizing presets — empty loadout slots mean little without affix literacy from Items.
Skill Bars and Loadout Pairing
Each preset should imply a skill bar plan:
- Farm — area skills, movement, minimal defensive cooldowns.
- Hard — shields, heals, escape tools.
- Boss — single-target burst, phase defensive, potion discipline.
Skill books from boss drops may differ per preset — stash books in organized tabs if preview UI allows. Skill tier list helps pick bar upgrades.
Maintenance Habits Between Patches
Preview patches shuffle drop tables and tier budgets:
- After Updates, re-equip each preset and note weak slots.
- Replace
/5downgrades immediately — presets hide bad swaps if you forget to audit. - Screenshot preset stats before experimental reforge on shared chest pieces.
Launch week may add loadout slots or crafting bindings — revisit this page after August 14, 2026 Steam news.
Related Build Pages
- Forging builds — invest once, wear across presets.
- Beginner builds — stat targets for first presets.
- Builds hub — sibling overview.
- Hard mode — when to swap survival preset.
- Farming — farm preset route pairing.
Three loadout sets turn Ruins of Dawn’s class freedom into session efficiency — less stash time, more mapping time, and cleaner transitions into hard content when your resist profile is ready.
Frequently Asked Questions
Quick answers to the most common questions.
How many equipment loadouts does Ruins of Dawn have?
Community reports **three equipment loadout sets** on the character screen. UI details may change — workflow of farm/hard/boss kits stays useful.
Should each loadout use a different class?
Optional. Classes swap anytime — many players use three presets for one main class, or share neutral gear across [Warrior](/classes/warrior/), [Mage](/classes/mage/), [Warlock](/classes/warlock/).
What should my three loadouts be?
Common template: **farm**, **hard/survival**, **boss/single-target**. Match [Hard mode](/guides/hard-mode/) and [Farming](/guides/farming/) guides.
Do loadouts share forged gear?
Yes — upgrade shared chest/rings/accessories first via [Forging builds](/builds/forging/). Swap weapons per preset when classes differ.
When do I update loadouts after Bear Valley?
Boss preset first with T3 weapon fractions, then hard preset resist, then farm speed — see [Gear tiers](/gear/gear-tiers/).